Photo examples
What enhance photo examples online can show you
A useful example shows more than a sharper-looking picture. Compare the original with the edited image, then look closely at faces, fine detail, color, and any areas that may have changed unexpectedly.
Partner workflow: Supavisual offers general prompt-guided image edits, background removal and 2×/4× upscale after sign-in and subscription. New accounts start with 0 generation credits. There is no dedicated old-photo repair or automatic colorization; these links transfer no image or prompt.
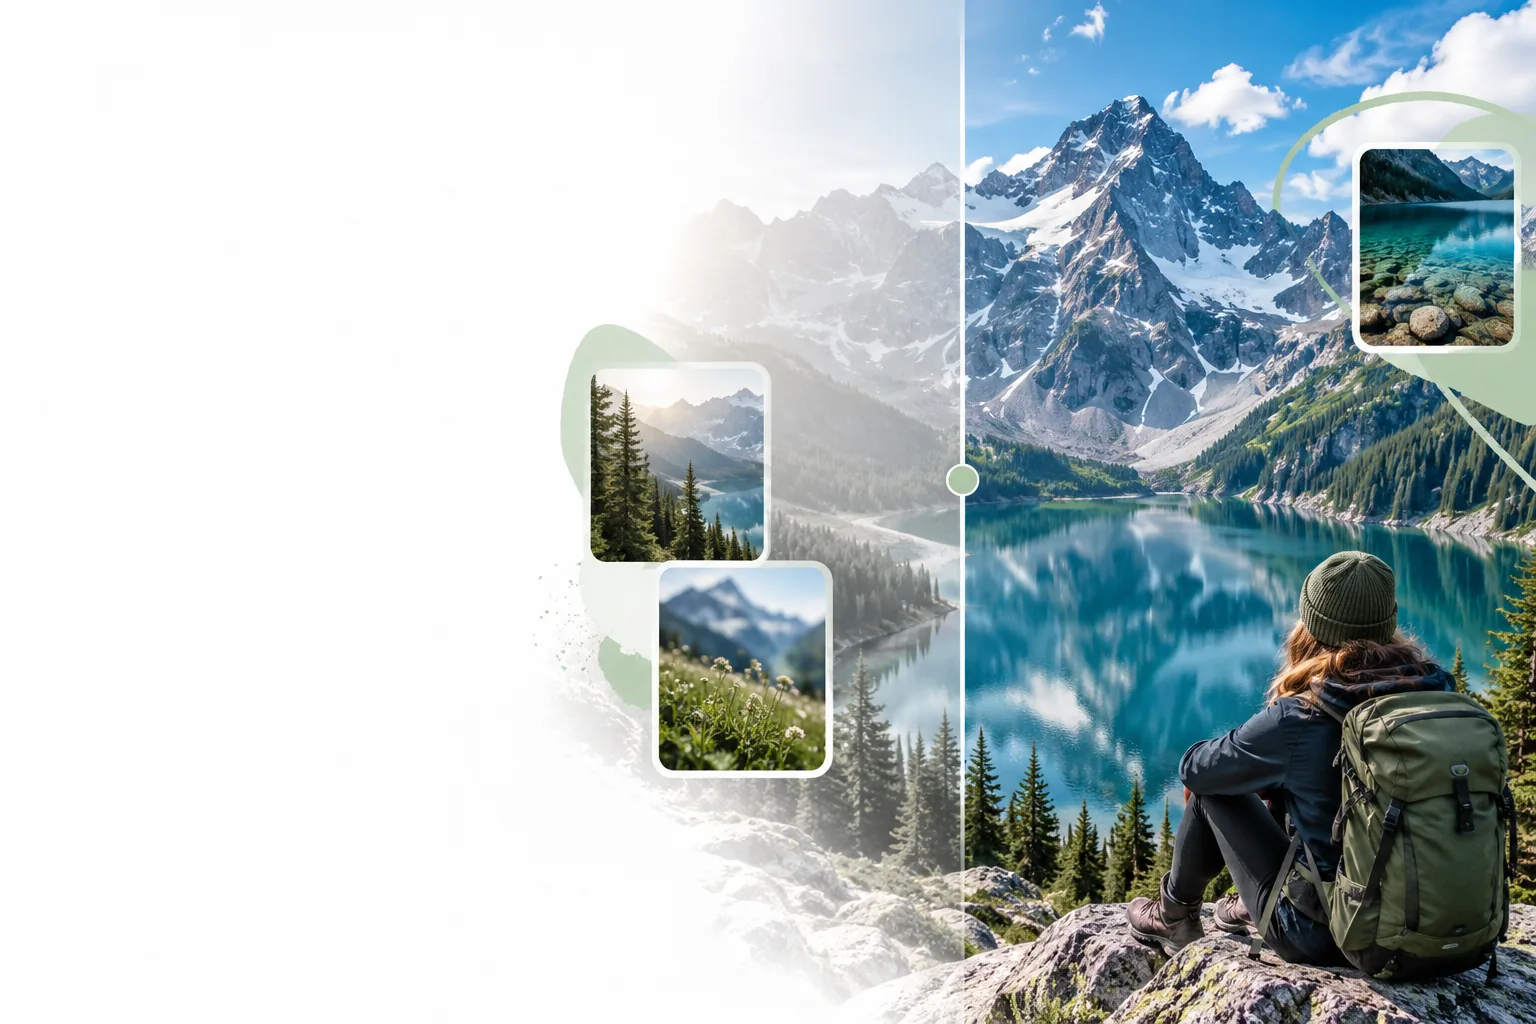
the audience's existing pipeline
Most people start with a picture that has a specific problem: a soft portrait, a dim pet photo, or an older scan with faded contrast. They find examples, decide which change they want, and only then try an edit. These related guides help with the next decision.
where we slot in
Use an example to set a goal, not as a promise that every source image will produce the same result.
-
1
Name the problem
Look at the unedited image first. Is the subject slightly soft, is the whole frame dark, or is an old print faded? Those are different starting points. A relevant example should share both the kind of photo and the issue you want to address.
-
2
Choose what to preserve
Decide which details must stay believable before making changes. For portraits, check skin texture, hair, and the shape of facial features. For pets, inspect fur and whiskers. For scanned photos, keep meaningful grain and avoid treating every mark as damage.
-
3
Inspect the whole frame
After an edit, compare both versions at the same viewing size and zoom into important areas. A brighter face can draw attention away from an altered background or artificial edges. Keep the original so you can judge whether the change serves the picture.
before/after
The most useful comparison starts with a visible limitation and makes the intended improvement easy to judge. Look for a clearer subject without assuming that added-looking detail was present in the original.
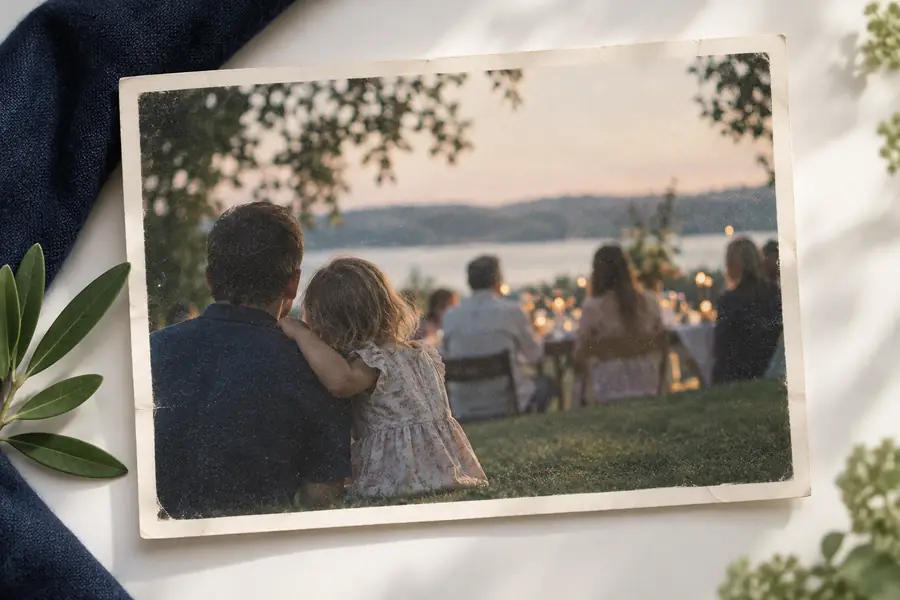 Softer original
 Enhancement example
deliverable spec
An edited picture is useful when it works for its intended destination. This checklist contrasts a quick visual impression with a closer review before you share, print, or continue editing.
- Quick glance
- Useful review
Portrait
Quick glance
The face appears clearer.
Useful review
Eyes, hair, skin texture, and facial shape remain plausible.
Pet photo
Quick glance
The fur looks crisp.
Useful review
Whiskers and fur edges look natural rather than drawn over.
Older scan
Quick glance
Fading is less obvious.
Useful review
Contrast improves without erasing meaningful texture or changing faces.
Low-light scene
Quick glance
The picture looks brighter.
Useful review
Shadows retain depth and bright areas are not washed out.
Background
Quick glance
Attention stays on the subject.
Useful review
Objects, text, and straight edges have no distracting distortions.
Final use
Quick glance
It looks good on one screen.
Useful review
The saved result is checked at the size where it will be viewed.
Try an edit with a clear goal
Pick a photo and decide what you want to improve before opening the editing destination. Keep your original, inspect the result at more than one size, and choose the version that still looks true to the scene.
Explore photo editing- Start with a specific source image
- Check important details against the original
- Judge the result for its intended use
scenario FAQ
Find an example with a source image similar to yours, then compare the same details in both versions. Check the subject, background, and areas of fine texture; a dramatic improvement in one spot does not tell you whether the entire image holds up.
No. Lighting, focus, compression, and the amount of detail in the original all affect what an edit can achieve. Use portrait examples to identify the look you prefer, then inspect your own result for natural skin and unchanged facial features.
Look for comparisons that show faded contrast or a soft scan rather than an unrelated modern portrait. Pay attention to faces, clothing, and the texture of the original print. Save an untouched copy before trying to improve the scan.
It can show the kind of visual change to examine, but it cannot establish how much detail exists in your file. Slight softness and severe motion blur are different problems. Compare the edited image at full viewing size before relying on small preview thumbnails.
At thumbnail size, stronger contrast and sharper edges can read as detail. Zooming in may reveal halos, overly smooth surfaces, or features that no longer match the original. Check both sizes, especially if the photo will be printed or cropped.