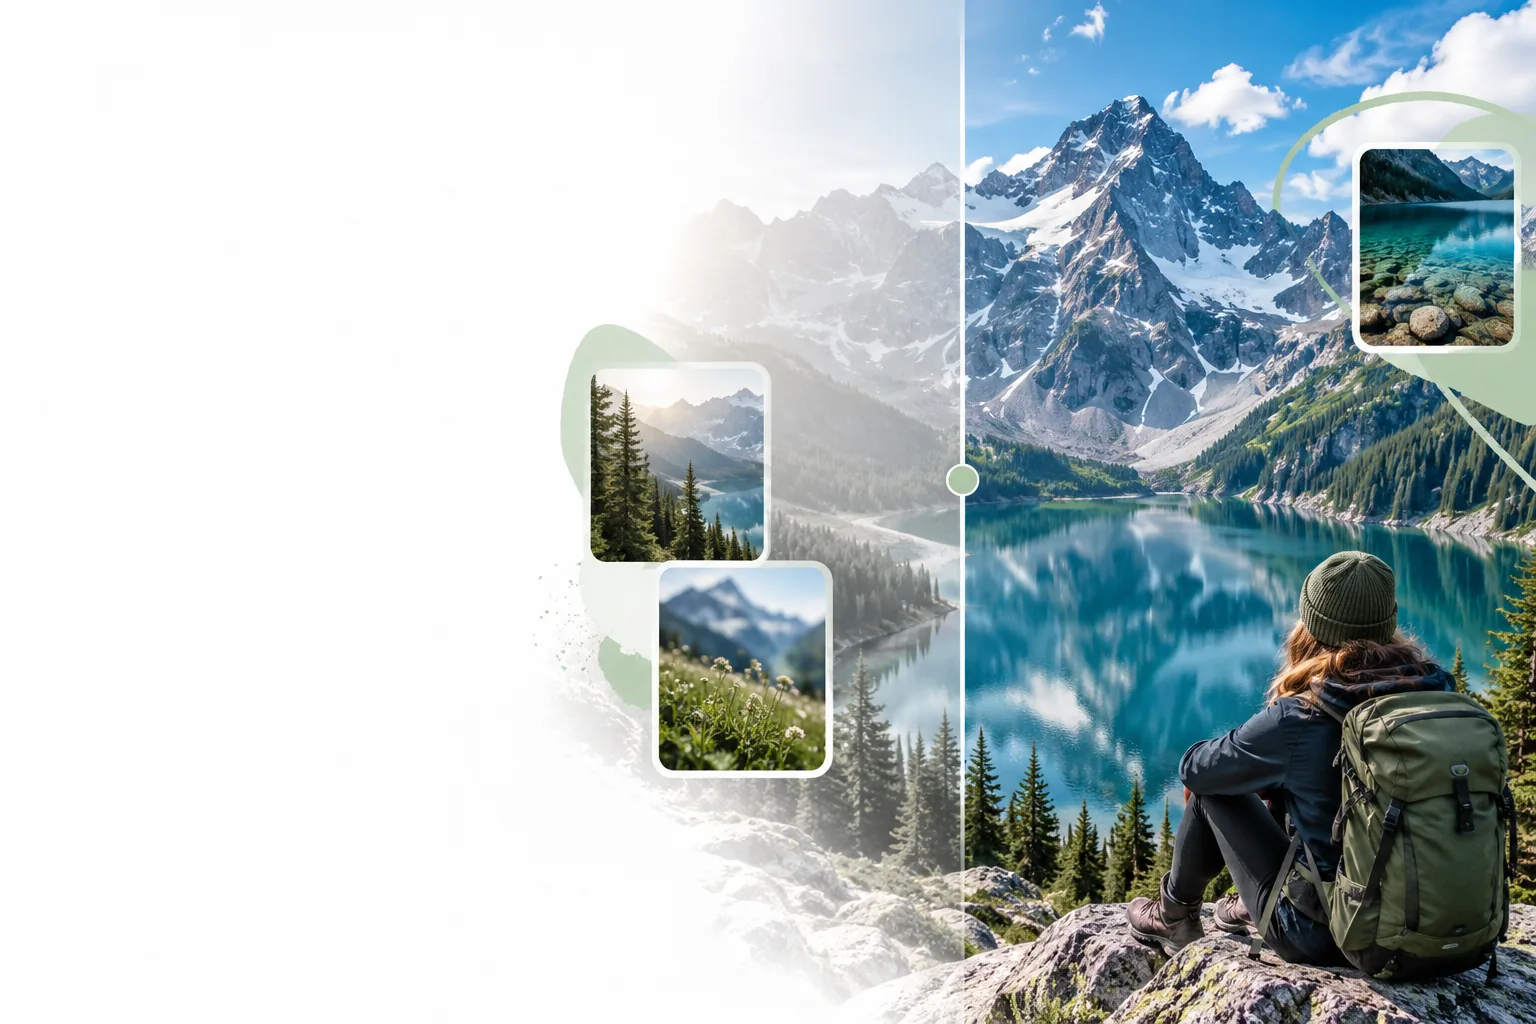
If you want to know how to enhance photo online, start with the best original you have and decide what actually needs fixing. This guide walks through clarity, noise, color, and final checks so the result still looks like your photograph.
Partner workflow: Supavisual offers general prompt-guided image edits, background removal and 2×/4× upscale after sign-in and subscription. New accounts start with 0 generation credits. There is no dedicated old-photo repair or automatic colorization; these links transfer no image or prompt.
Describe your edit
Supavisual supports general image editing, background removal and 2×/4× upscale after a paid subscription. No image or prompt is transferred from this guide.
Work from the whole image toward small details, then check the result at the size where people will see it.
1
Choose the clearest original
Open the highest-quality version available and inspect it before editing. Identify the main problem: soft focus, visible grain, dull color, poor exposure, or a combination. A genuinely out-of-focus subject may not contain detail that can be recovered. If the photo is only slightly soft, a restrained adjustment may be enough; if it is very dark, expect noise to become more visible when you brighten it.
2
State one clear goal
Describe what should improve and what must stay unchanged. For a portrait, you might ask for clearer eyes and less background noise while preserving skin texture and facial features. For a product photo, prioritize accurate edges and color rather than dramatic contrast. A specific goal makes it easier to judge whether an online result is useful instead of accepting every visible change as an improvement.
3
Inspect the first result
Compare the edited image with the original at normal viewing size, then zoom in on faces, text, hair, fabric, and sharp edges. Look for smeared texture, invented-looking detail, halos, color shifts, or objects that no longer match the source. If the edit goes too far, request a gentler change or return to the original. Do not keep enhancing an already enhanced copy just because it looks sharper at a glance.
4
Check the intended use
View the result where it will appear, such as a phone screen, a website, or a print layout. A photo that looks pleasing when zoomed in may look harsh at its actual display size. Keep the version that solves your original problem without making important details look artificial, and retain the unedited file in case you need a different treatment later.
Common errors and fixes
Use this comparison when an edit looks different but does not look better. The right fix depends on the artifact you can see.
What went wrong
What to try instead
Soft subject
What went wrong
Strong sharpening creates bright outlines but leaves the subject's underlying detail uncertain.
What to try instead
Start from the clearest original and ask for subtle clarity. Judge the subject at normal viewing size, not only at maximum zoom.
Waxy portrait
What went wrong
Aggressive noise reduction removes pores, fine hair, and natural variation along with grain.
What to try instead
Request lighter noise reduction and explicitly preserve skin texture, eyelashes, and other identifying features.
Harsh edges
What went wrong
Oversharpening adds halos around hair, buildings, lettering, or high-contrast borders.
What to try instead
Reduce the strength of the edit and compare edge areas against the untouched photo before keeping the result.
Strange colors
What went wrong
A broad color correction changes skin tones, product colors, or the mood of the original lighting.
What to try instead
Specify which cast needs correction and which colors must remain faithful to the source.
Lost highlights
What went wrong
Extra contrast makes bright skies and reflective surfaces look white and featureless.
What to try instead
Ask for balanced exposure rather than maximum contrast. Check both the lightest and darkest parts of the frame.
Disappointing enlargement
What went wrong
A larger image is mistaken for proof that every small feature has become accurate.
What to try instead
Check text, faces, and repeating patterns against the original. Use added resolution only when the details remain believable.
Advanced tips
Adjust your review to the subject and the way you plan to use the finished image.
Phone photographer
You took a quick portrait indoors and want less noise without losing the warmth of the room. Compare the face and background separately: smoothing that helps a wall may erase useful facial texture.
Keep the edit modest, then inspect it on the phone where you will share it. For a device-focused workflow, see how to use enhance photo on phone.
You want an initial enhancement but still expect to crop, mask, or make local corrections yourself. Save the original alongside the edited version so you can identify which changes came from each stage.
Check fine edges before bringing an enhanced image into a layered edit. The enhance photo for photoshop guide covers that handoff.
You are preparing a photo for a bigger screen or print and are tempted to enlarge it immediately. First settle exposure and color; then decide whether the intended display size calls for more pixels.
Inspect important details at the final viewing size rather than assuming an enlargement adds truthful detail. Read enhance photo 4k free for resolution-specific considerations.
Choose an original image, describe the change you want, and review the result against the source. A useful enhancement should make the photo easier to see without changing the details that matter to you.
Begin with the best original file you have, then name the specific problem you want to fix. Make one restrained change, compare it with the source, and check important details before keeping the result. The best-looking edit is not necessarily the strongest one.
Mild softness may respond well to a careful clarity adjustment, but a severely blurred photo may lack recoverable detail. Strong sharpening can make outlines stand out without restoring what the camera missed. Compare faces, text, and fine patterns with the original to spot details that look invented.
Decide which issue is more distracting before applying either treatment. For a grainy low-light image, heavy sharpening may emphasize the grain, while excessive noise reduction may erase texture. Aim for a balance that looks natural at the photo's intended display size.
Increasing pixel dimensions can help an image fit a larger display, but it does not guarantee accurate new detail. Examine small text, eyes, hair, and repeating shapes after enlargement. If those areas look distorted, a smaller, more faithful version may be the better choice.
Switch between the result and the untouched original at normal viewing size. Check that skin retains texture, colors still suit the scene, and bright edges do not have visible halos. If you notice the processing before you notice the subject, try a gentler edit.